see above.... Baudot or BCD? as a console on the
DEC PDP-4 |
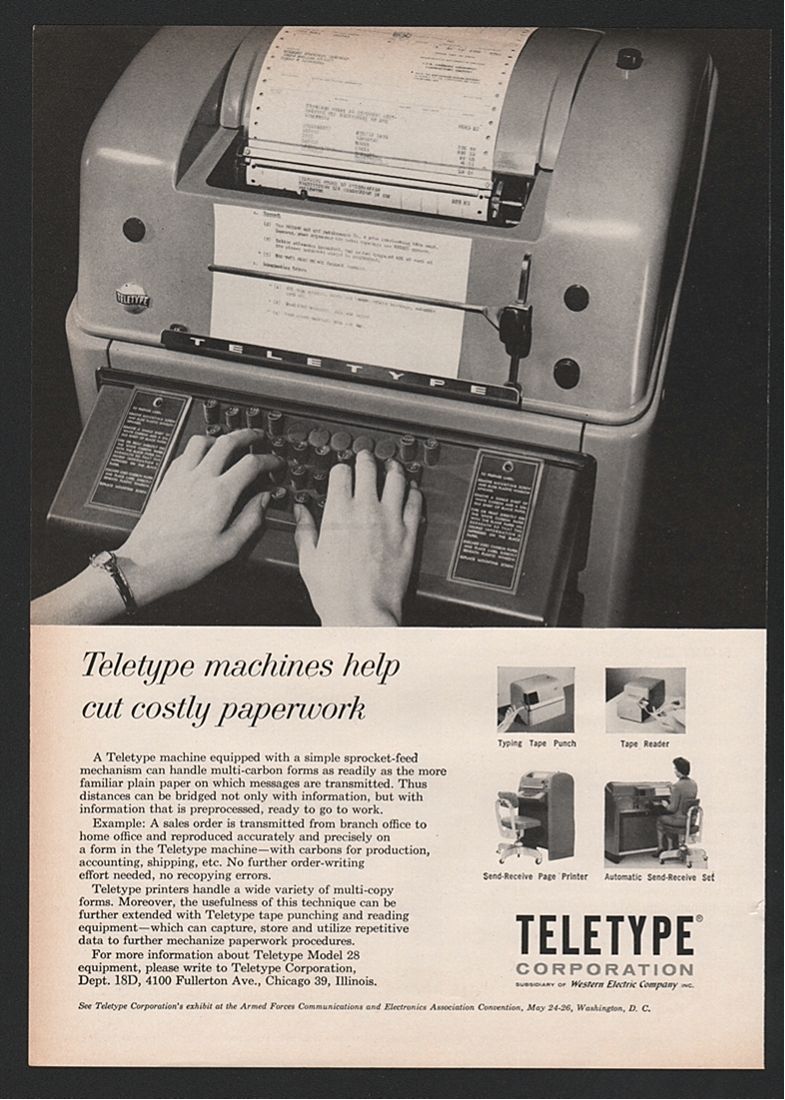
| STUNT BOX MATERIALS for Teletype Model 28
and Model 35 Submitted by David Christ K0LUM1)
General Description 28 SB Issue 1 (c) 1959 Teletype 28 Stunt Box in color 20 pages. Description of how the stunt box works. 13.7 MB Download the ULTIMATE Model 28 Teletype Stunt Box Booklet - 28stuntBox001 -------------- 2) 28LP Technical Data Sheet Issue 2 (c) 1959 Send-receive and Receive-only Page Printer Sets 2 color 8 pages. Descriptions of various models and options available. Explanation of model codes. Comprehensive listing including pictures of all parts available for stunt boxes. 4.8 MB Download a Great Set of Model 28 Page Printer 8 page glossy Data sheets - 28LP001 ------------- 3) Handwritten note from Len Jaguilo on Teletype Corporation note paper attached to item 3. Additional information on selective calling. Undated 152 KB Download Teletype Model 35 Selective Call Cover Note - SelCallcovernote001 ------------- 4) Application of the Model 35 Page Printer to Selective Calling. Memo dated August 9, 1963. Copy of 2 page typescript. 995 KB Download Teletype Model 35 Selective Call Model 35 printer to Selective Calling - 35SelCall001 ------------ 5) Selective Calling Without Using the Zero Code Bar. Memo dated 3-27-63 Copy of 4 page typescript. 1.8 MB Download Teletype Model 35 Selective Calling without the Using the Zero Code Bar - NonzeroSelCall001 ------------
|
|
Non-Overline and Automatic CR/LF for the Teletype Model 28 Non-overline fixes that annoying problem when your Teletype’s carriage comes back and overprints a perfectly good line of text after receiving a carriage return but no line feed. Automatic carriage return / line feed fixes the problem where your Teletype’s carriage continues to print at the extreme right hand side of the platen.
On a normal Teletype machine, when someone hits CR, the carriage will automatically come back but will not turn up a new line. This is a nice feature for RTTY Art but a real problem if you are trying to copy a weak signal and you are already receiving partially garbled text. Fortunately, the Model 28 machines can be easily converted to avoid overlining. This change requires no new parts and can easily converted back to factory stock in a few minutes. Here are the steps to make the change: With the motor running, look at the top of the stunt box. Hit the CR key and some slot will show activity. This should be slot 5, counting from right to left as you stand in front of the machine. Remove the LP and take out the stunt box (after disabling all power). Swap the universal code bars in slots 5 and 38 and reassemble the machine. Now, when the CR key is pressed, nothing happens. When the LF key is pressed, both CR and LF occur at the same time. You will still have to hit the CR key when you are transmitting. The CR character still needs to be sent to the distant machine. It may seem awkward to type the CR key and have nothing happen. But, the simplicity of this change, the fact that no additional parts are needed and that it works so well are huge benefits.
When you have the needed parts, start the installation by adding mod kit 157514 to the "horse’s mouth". http://www.rtty.com/development/books/stuntbox.pdf. This will take a while to download. Page 12 of 20 has a good picture of the code bars. If you don’t have access to this document, break off all ten tines at the top of the code bar and three of the four tines at the bottom of the code bar. The one tine that remains is in the upper right quadrant of the four tines that are clustered together. Once you have the slot parts and the code bar installed, and the stunt box and LP are all back in place, the checkout is pretty easy. First confirm that spacing over to the extreme right hand margin causes an automatic CR and LF. Then go back and count the exact point when this occurs. By standard, you should get 73 characters on a line an automatic return on character 74. If this is set correctly, you are finished. To adjust the return character, locate the spacing drum and the five bolts holding the front and rear rings to the spacing drum. Going clockwise, you will see that the first, third and fifth are all round-head bolts. The second and fourth are hex-head bolts. You have to slightly loosen, but not remove, the first, second, third and fifth bolts to adjust the right hand margin adjustment. .Take a screwdriver and slightly move the rear ring that is attached to the spacing drum. Move the ring counterclockwise to lengthen the line length. You don’t have to move the ring very far so go slowly. Temporarily tighten the bolts that you loosened and try the line length test until you get the desired line length. Submitted by: Russ - WA3FRP
|
 |